www.beezar.com

|
OK - next we need to attach the USB pigtail ...
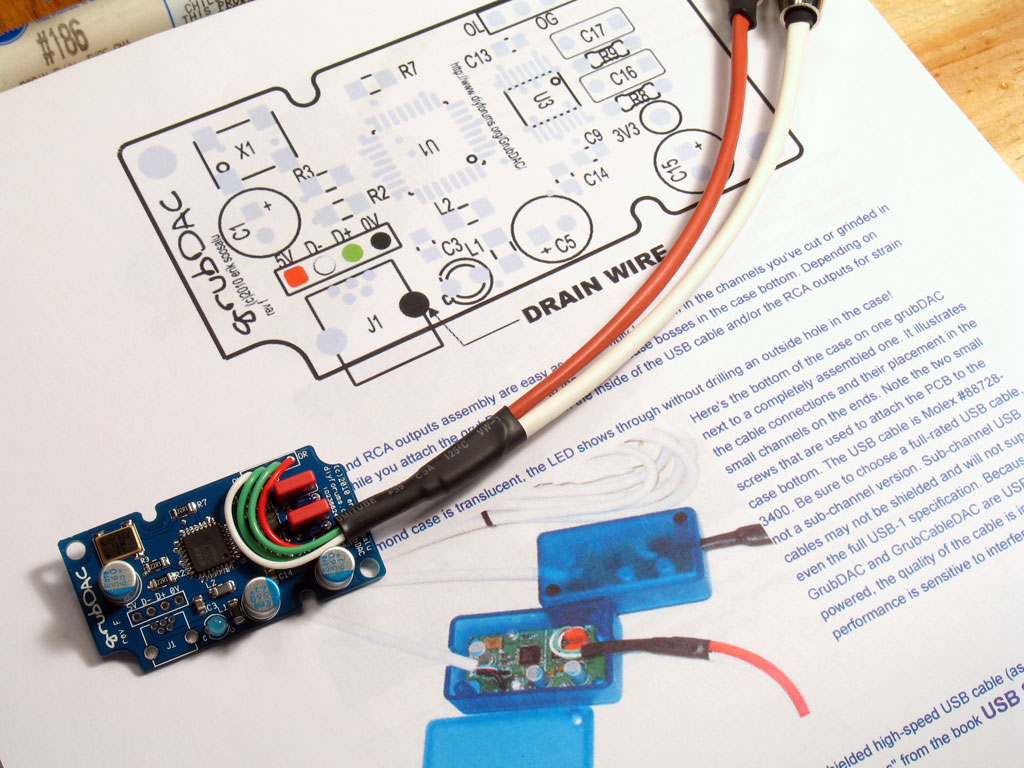
The first thing you need to do is print the grubCableDAC page. It shows you a convenient legend for the wire colors of a standard shielded USB cable and where those wire go on the grubDAC PCB. Here's my printout below, with the grubDAC and the RCA leads attached.
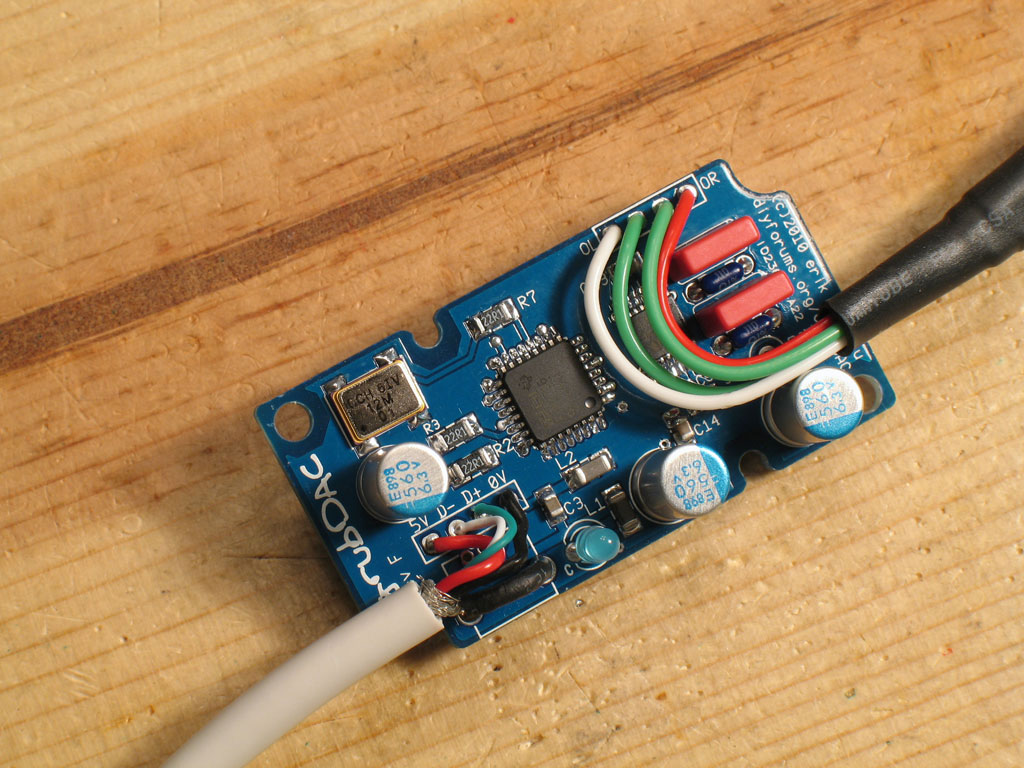
What's nice about the USB pigtail cable is that it comes with the wire leads pre-tinned, including the shield and ground cable. There's no stripping, no cutting, etc. - just simply push them through the proper holes and solder.
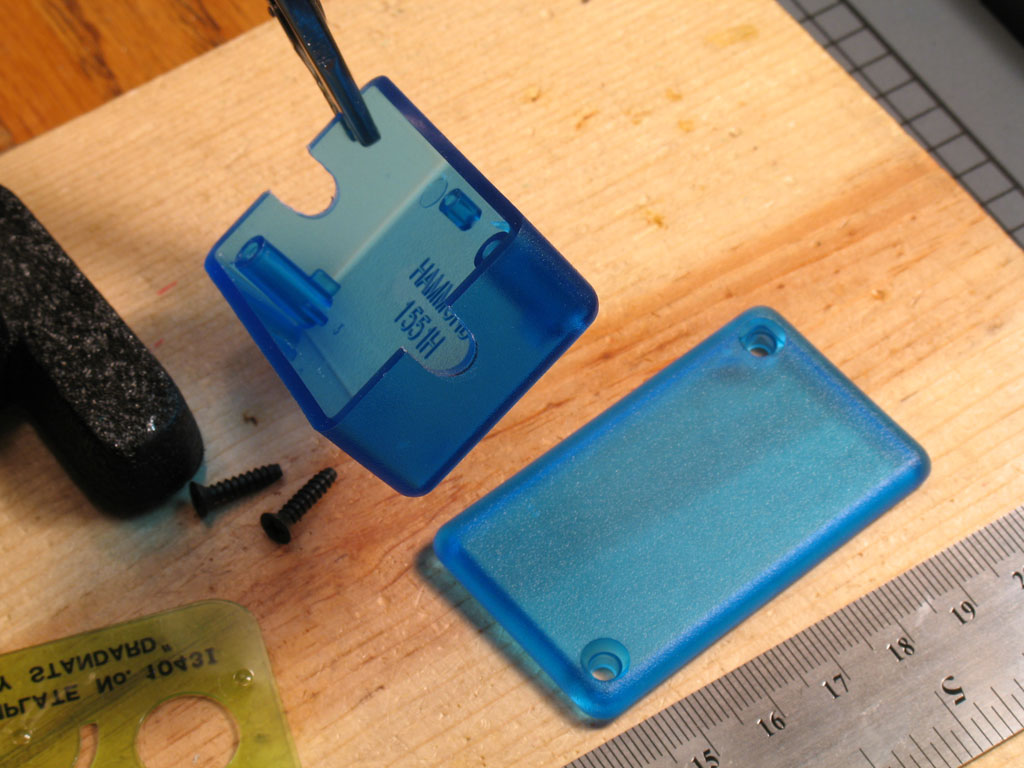
Cobaltmute designed the grubDAC specifically for the Hammond 1551HTBU plastic translucent case. The only thing you need to do is cut a slot in each end for the RCA leads and the USB cable, then screw the PCB into the case. Very simple! Don't look too closely at the pic below - I marked mine with holes that are way too big! I think the first prototype I made had much larger leads. So remember the old adage - measure twice, cut once. Still, this should give you an idea of how simple is the task. I found a good bit on my Dremel Moto-Tool and the slots were cut in few seconds.
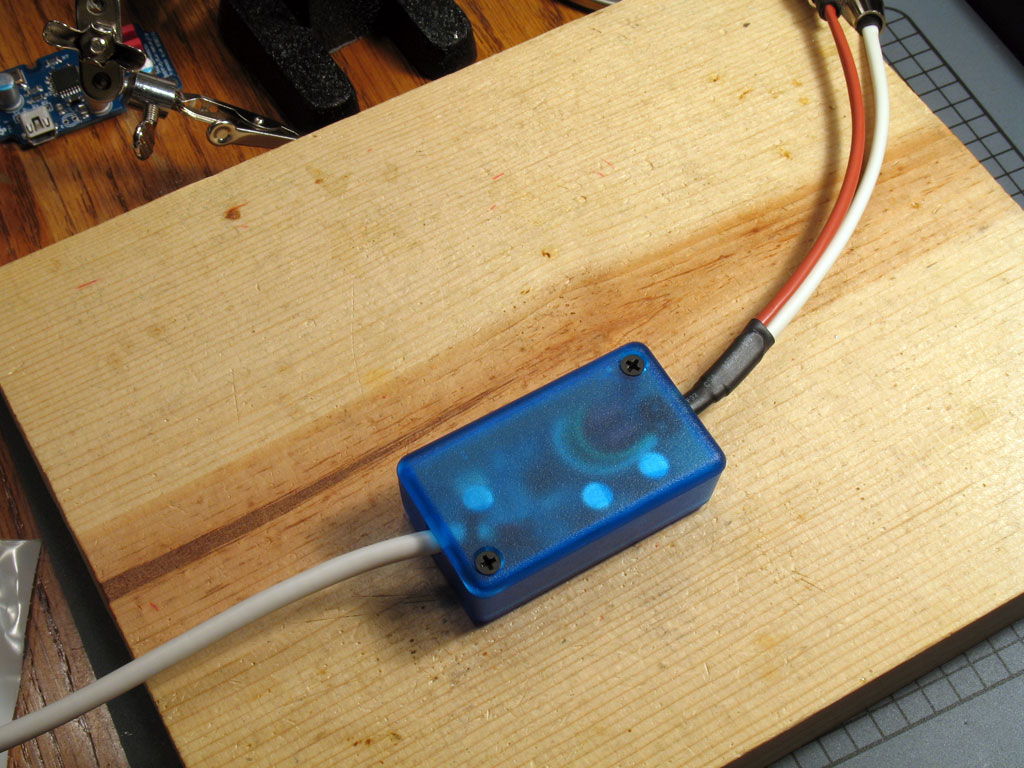
Next - screw the PCB into the case using #2 x 1/4" self-tapping screws. Note the cable ties on both cables to act as strain reliefs.
Finally - screw the lid down with the two Hammond screws. FINISHED! |