Buy Boards & Parts:
www.beezar.com
www.beezar.com

The Mute Audio pupDAC
pupDAC Step-by-Step 3
| 11. Solder an anchor pin for the opamp U9 and place it in position - As with other SMD IC parts, apply solder to one of the corner pins' pad. Melt it again, and while melted with your soldering iron applied, use tweezers with your other hand to move the opamp into position. When aligned and the correct pin is touching the melted solder, then release the soldering iron and let cool. Then release the opamp. Proceed to solder a pin on the opposite corner of the opamp and you have it anchored. Warning! Make certain the the chip is oriented to match the locating dot on the PCB silkscreen. 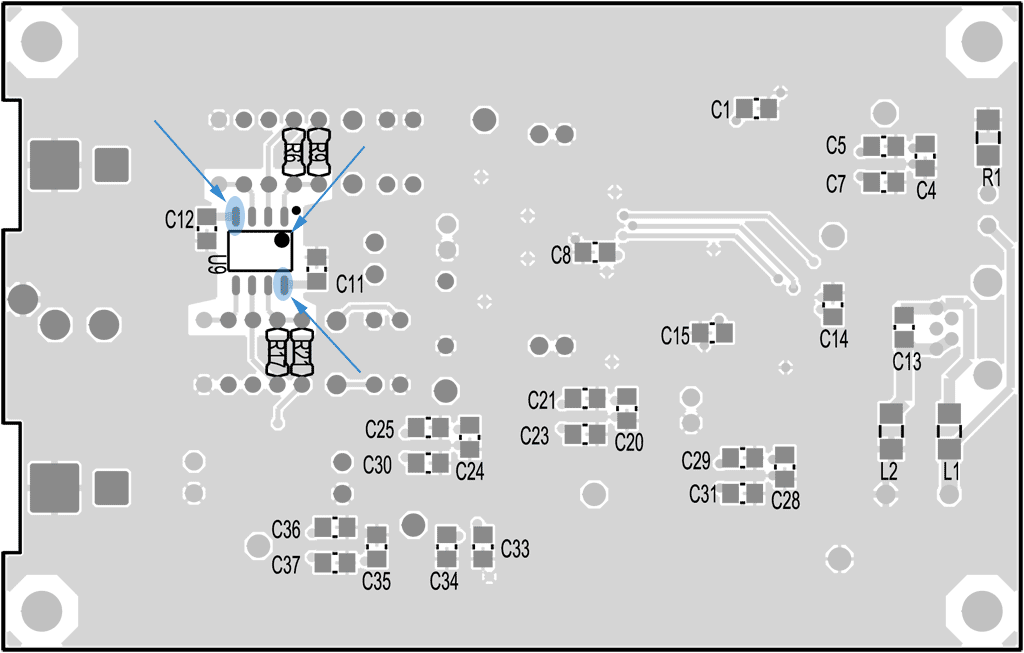
|
| 12. Solder the remaining U9 opamp pins - Soldering the remaining pins is relatively easy and can be soldered individually. Finish off the pins on both sides with a "drag and wipe." Refer to the SMD soldering page for details on the drag and wipe method (only for finishing off the joints in this case). 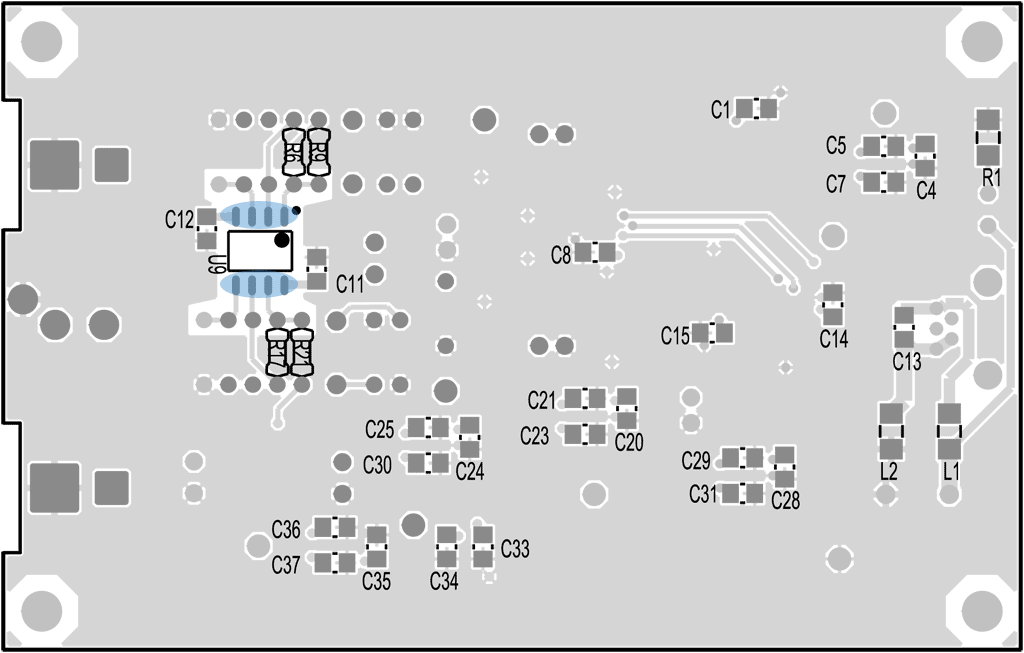
|
| 13. Apply solder to "anchor" the remaining SMD parts - Apply solder to the pads of the SMD capacitors ("C" parts), resistor ("R" parts), and ferrites ("L" parts). Choose your pads for convenience with orienting the PCB and with which hand you use to hold the soldering iron. Others disagree with this method, but I don't worry about the orientation. Instead, try to pick the non-grounded pad in each case. It's the easiest pad to solder and ensures that you get the part placed without having to worry about melting a heat-sinked ground pad. Once the part is down on one side, you can spend as much time as you want getting the remaining grounded pad to melt solder. 
|
| 14. Solder the 805 capacitors, first - These are the smallest parts on the board. Solder them first so that they're not blocked from soldering later on. (All SMD capacitors on the pupDAC happen to be 805-size.) 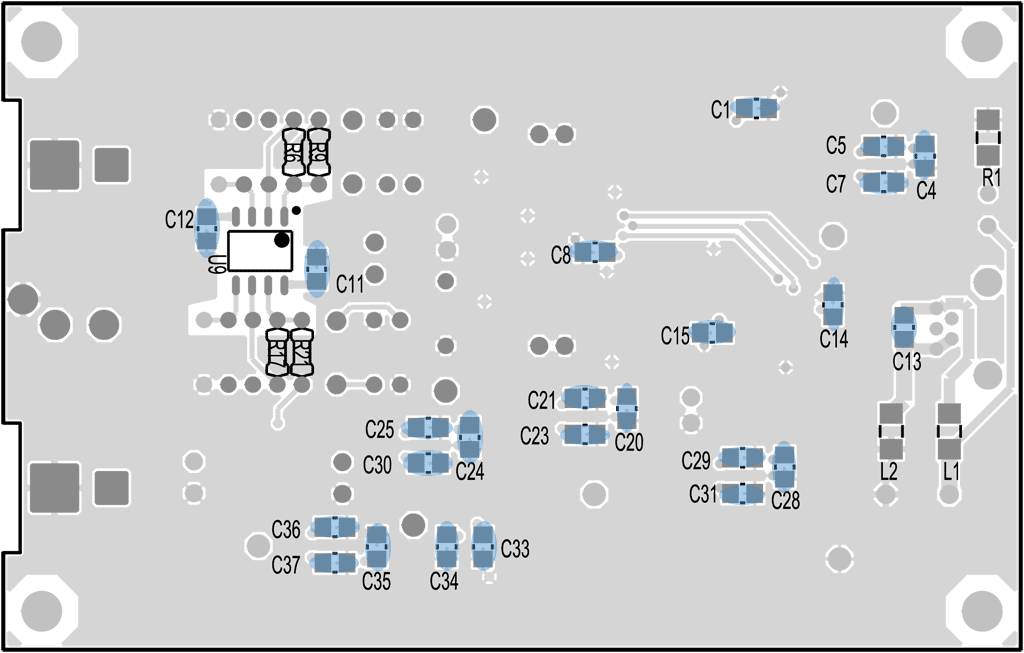
|
| 15. Solder the single remaining 1206 resistor, R1 - Solder with the rating on top. 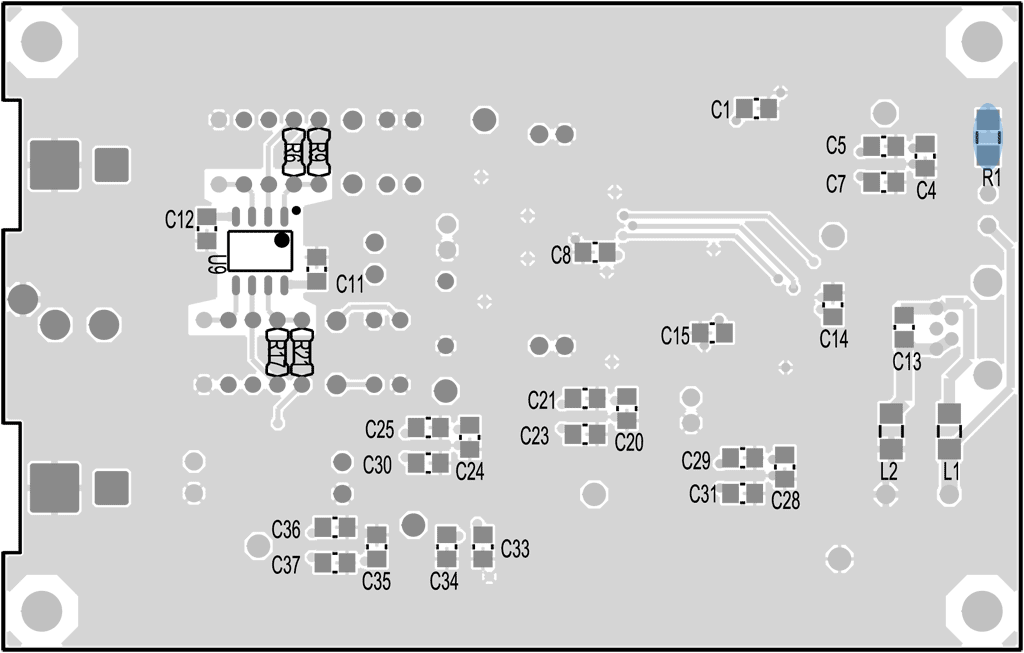
|
| 16. Solder the 1206 ferrites - These are relatively large and easy to handle and solder (with tweezers, of course!). Like SMD capacitors, they're not marked. So orientation is not a factor and all ferrites on the pupDAC are the same. 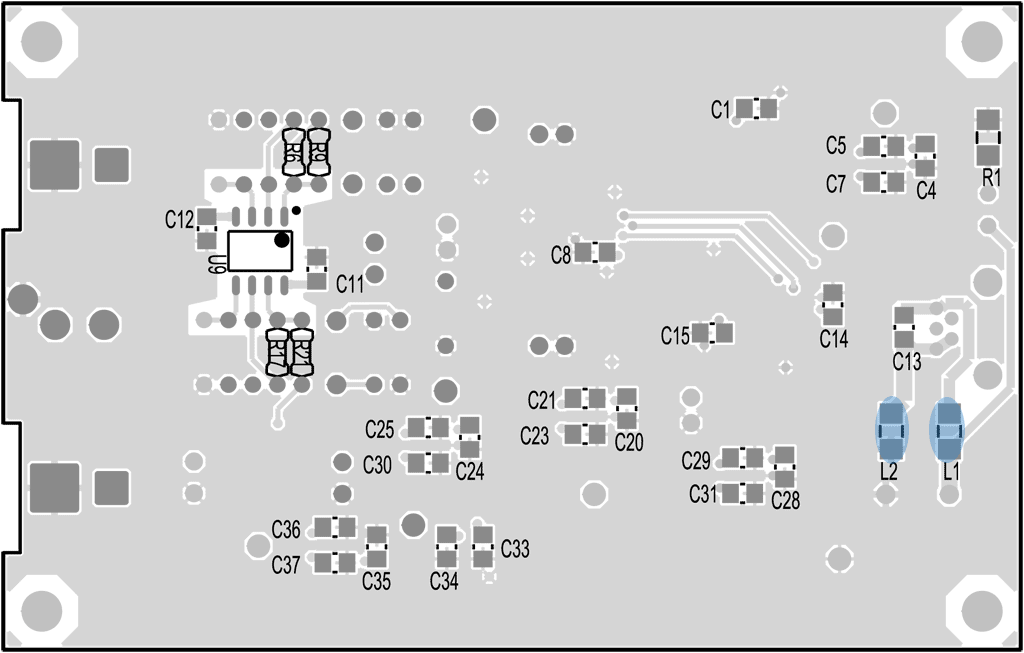
At this point, you are finished with all of the SMD parts! Remove the PCB and fully clean and rinse. A method I like to use is immersion in 91% alcohol (available at Walmart). All of the SMD chips and parts are fully sealed (with an exception or two), so this method works well at this point before you have a lot of through-hole parts populated that get in the way. Note that with the newer active IC's such as the opamp, etc., different plastics are in use that can by hygroscopic. So, the alcohol may be absorbed to a certain extent. Just make sure that you allow for complete drying prior to ever applying power to the PCB. |