Buy Boards and Parts:
www.beezar.com
www.beezar.com

The Millett Hybrid MAXed - Casework
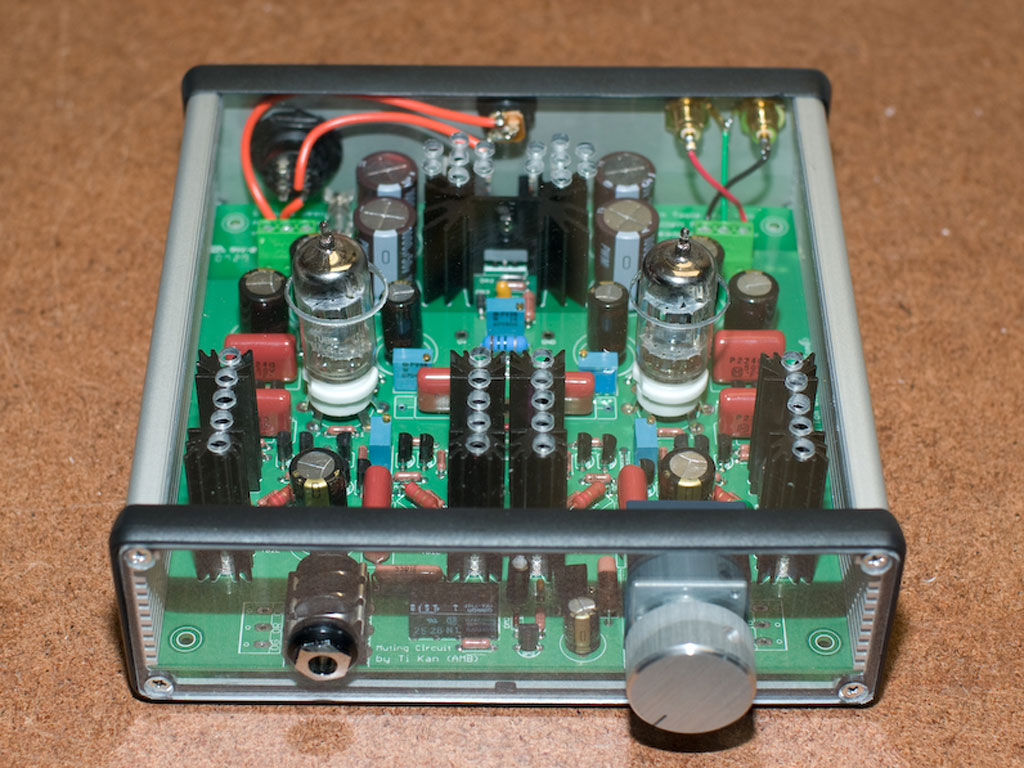
Casework - Lexan See-thru Case Option by Ken Lee
|
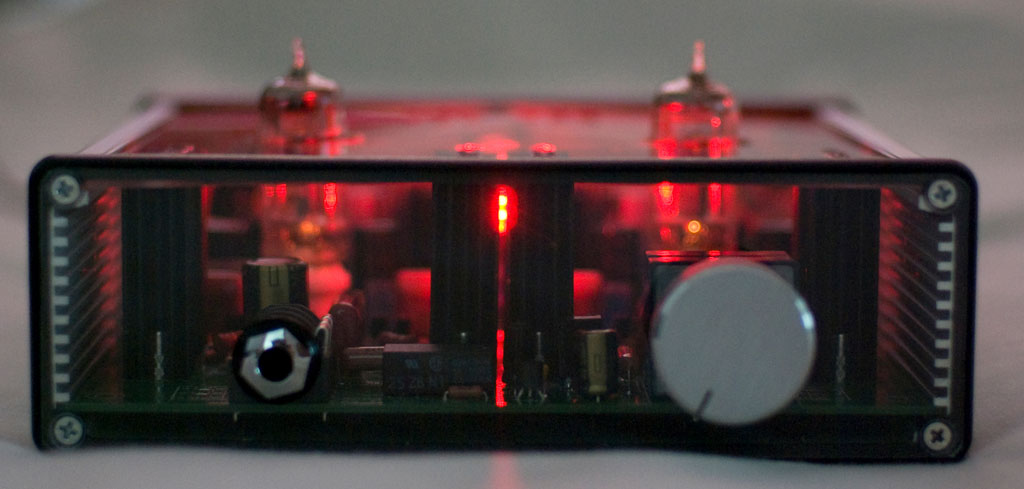
Webmaster's note: Ken Lee, aka forums user "Kklee" - built his impressive MAX using a set of see-through Lexan polycarbonate
plates in place of the top plate and front plate. With the LED lighting and colorful components, it results in a
singularly unique look. Ken was kind enough to explain his technique herein - using the Lexan material.
-- All photos courtesy Ken Lee. --
 |
|
|
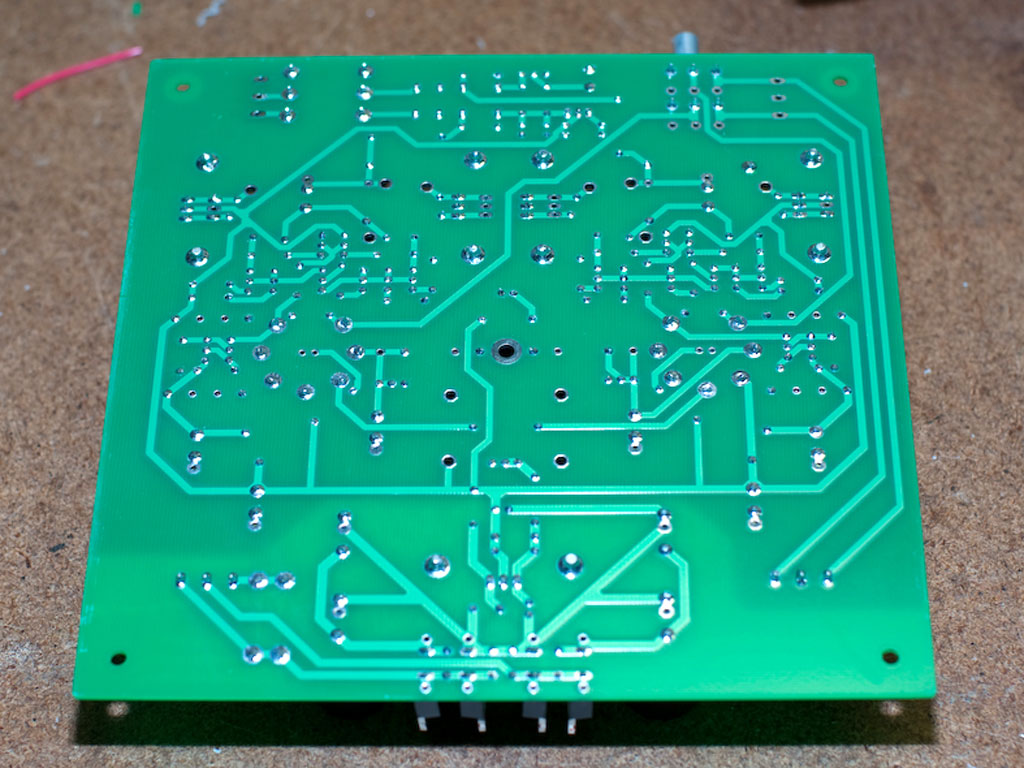
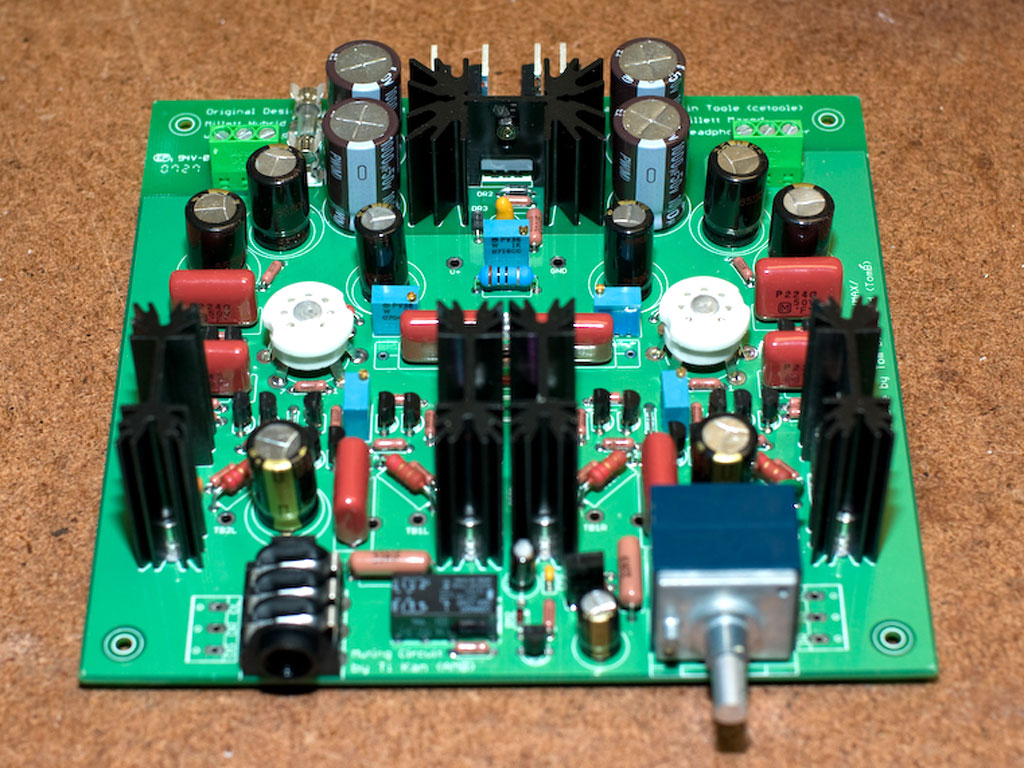
Obligatory shots of finished PCB
 | |
|
Lexan panel fabrication
First, you need a 1/8" sheet of Lexan. Note that there is a difference
between Lexan (Polycarbonate) and Plexiglass (Acrylic). Lexan is virtually
unbreakable, but is not scratch resistant. Acrylic is scratch resistant,
but is easier to shatter. I chose Lexan since it's easire to work with,
and Home Depot has it in the right thickness. The Lexan I bought has white
plastic film on one side and clear plastic film on the other. I used the
white side to do my layouts. Lay the aluminum panels you are replacing on top of the Lexan and trace the outline with a marker. 
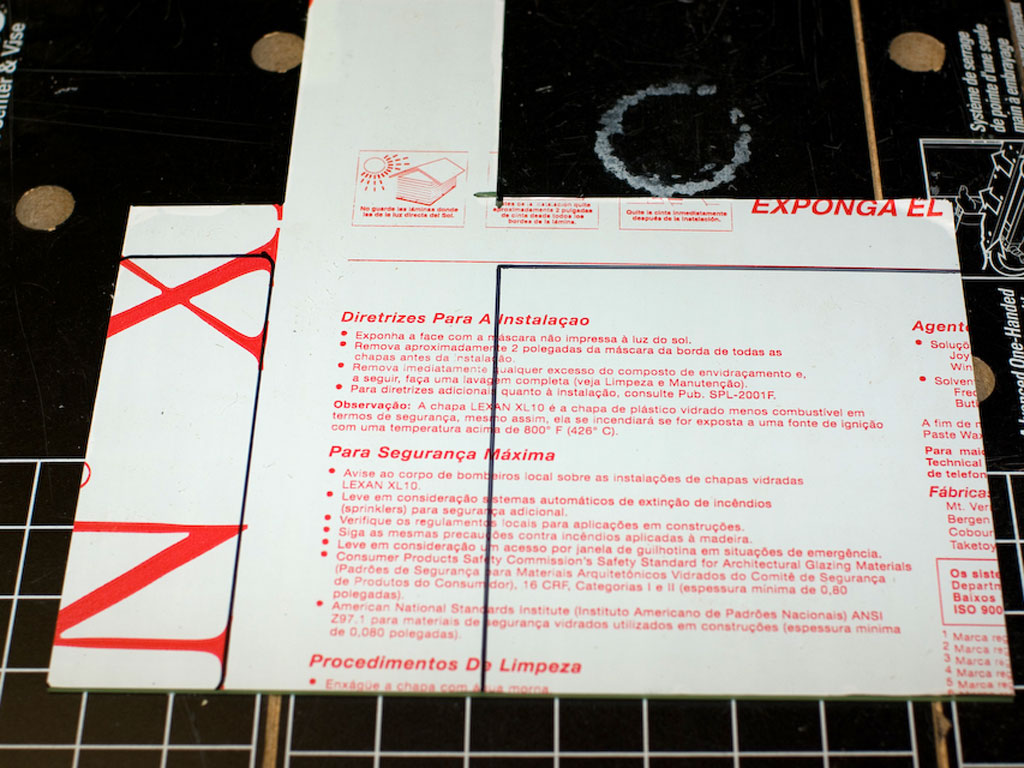 I cut the Lexan on a table saw using a regular carbide toothed saw blade. Do not go too slow or stop moving the Lexan or it will melt from the friction. I had an extra hose from my Shop Vac set up to suck up some of the shavings, which get everywhere!  I then cranked the blade down low to shave the sides to fit into the case slots. I used a sacrificial fence and cut the edge of the Lexan pice to about half its thickness and the width of the saw blade. This fits perfectly into the Hammond chassis. 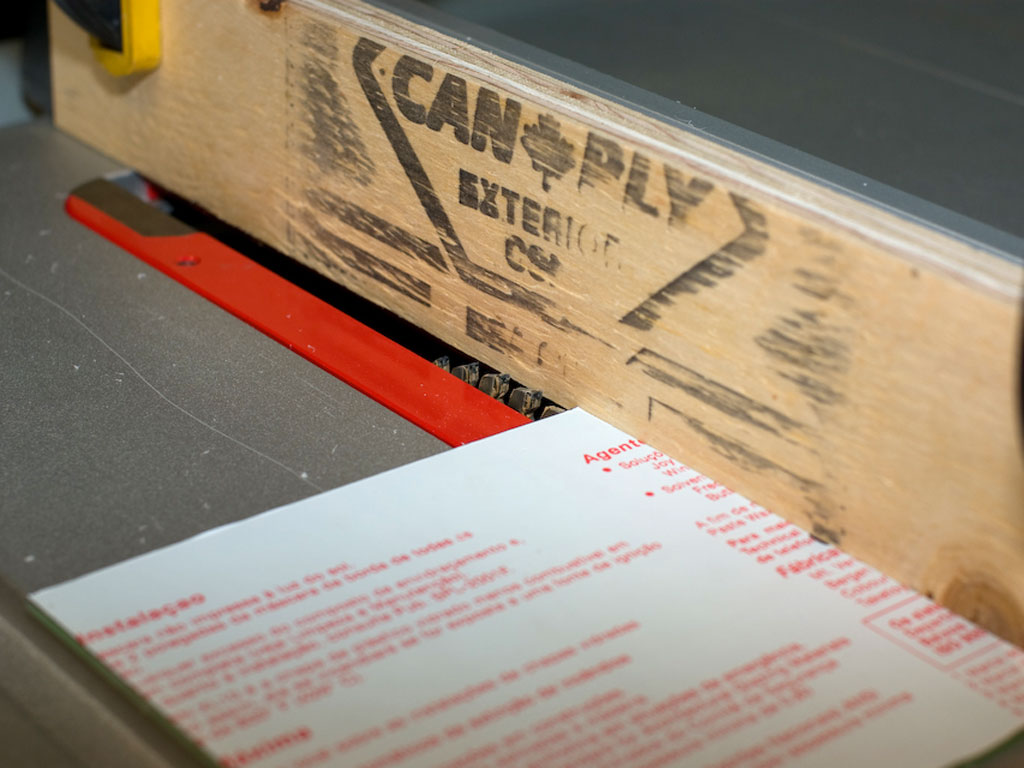 I used the top template from the Millett Max web site for the layout. Check the dimensions on your printed page to make sure that it is accurate (I had a goofy setting turned on for my printer, which actually shrank the printed document a bit). I taped the Lexan piece to the back of the paper template.  Then I used a hammer and nail to centre punch all of the holes through the paper template. 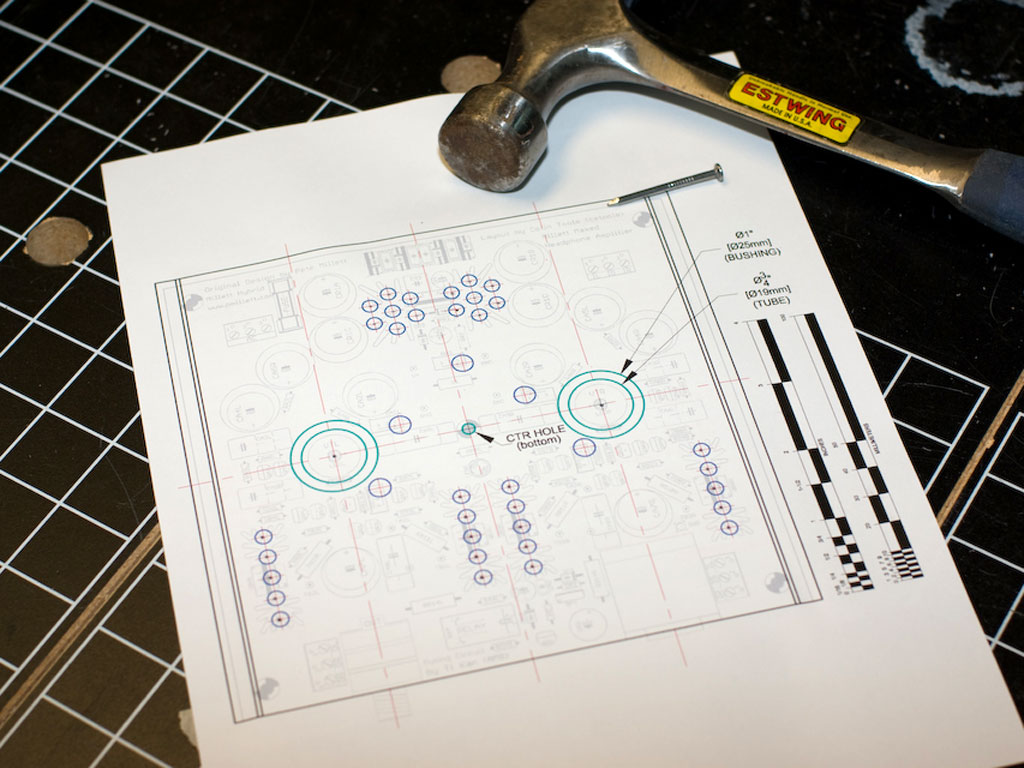 I removed the paper template and used a marker to highlight the punch marks to make them easier to see.  I drilled the tube holes using a drill press and a hole saw. The trick here is to run the drill press at the lowest possible speed and don't take too long to drill the hole or the Lexan will melt. I went a little too slow, you can see some melted Lexan stuck to the hole saw. 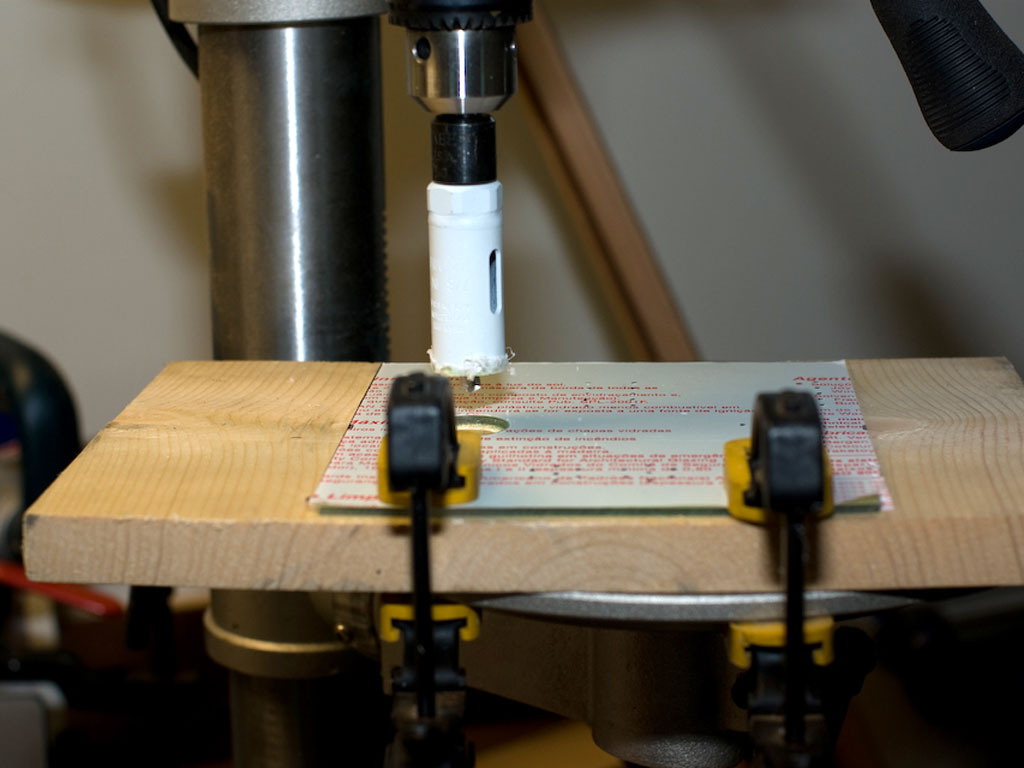 I then clamped the Lexan to a piece of wood and used a hand drill for the rest of the holes. I used a brad point drill bit since it wouldn't wander and has a shallower bite, meaning less tendency to crack the Lexan. Don't run the drill too fast or take too long drilling, otherwise the Lexan will melt. 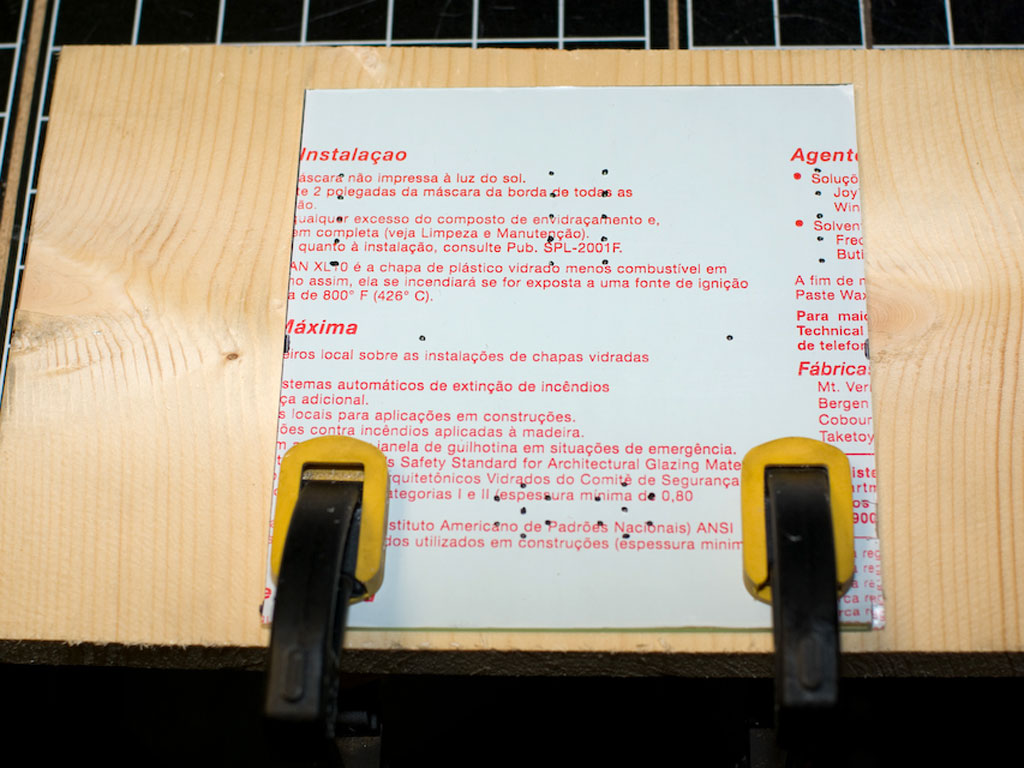 After you finish drilling the holes, you may need to clean up the holes a bit due to melted Lexan. I used a really sharp 1/2" chisel to knock the melted bits off. When you assemble the case, you may need to flex the Lexan a bit to get it to line with the bezel clips, shown below. 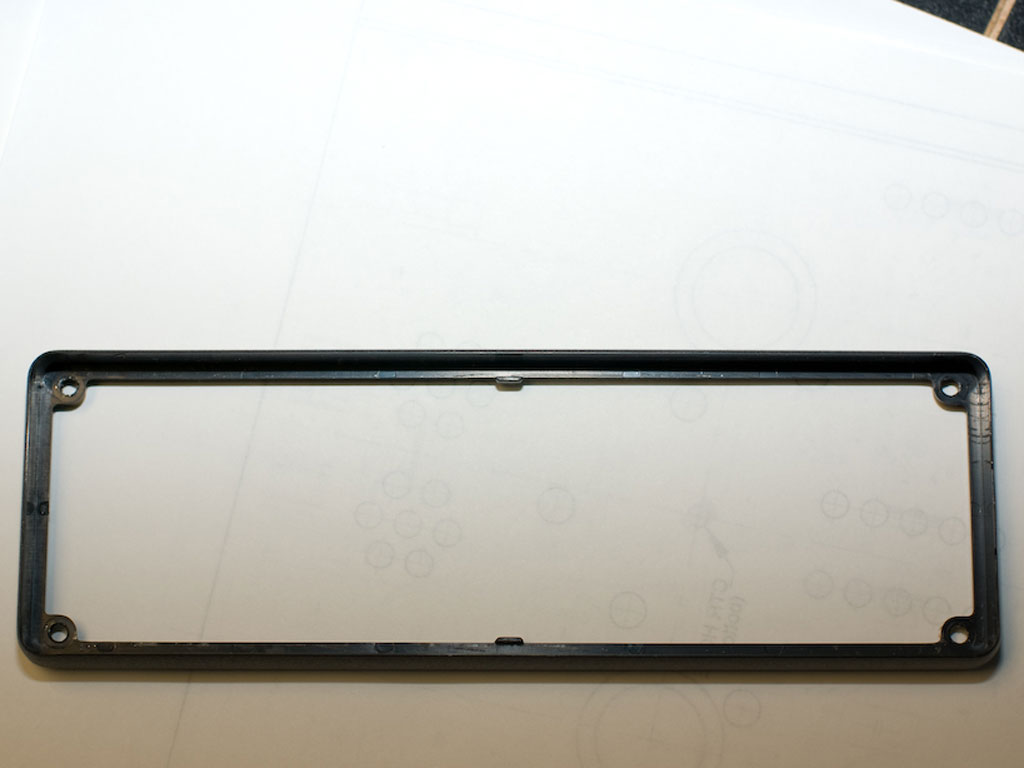 | |
|
Completed see-through Millett MAX
   |
